Post Formats
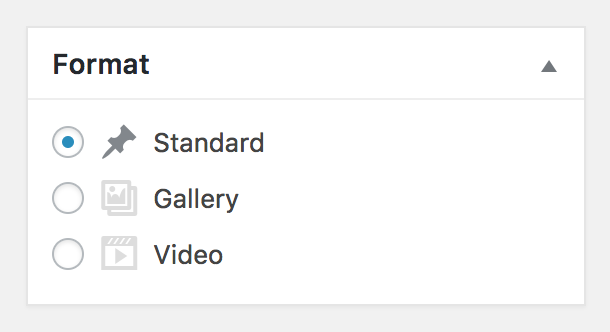
Marni includes 2 Post Formats:
- Video – displays a video at the top of your post
- Gallery – displays a masonry styled gallery at the bottom of your post
You can select the Post Formats on the right hand side when you edit a post.

How to add a Gallery post
- Click Posts > Add New
- On the right hand side, select the gallery format. A Gallery box will appear below the editor.

- Click + Add Media and select the images you wish to display in the gallery.
- Furthermore you have the option to display one, two, three, four or five images per row.
- Click Publish. The gallery will appear on the bottom of your single blog post.
How to add a Video Post
- Click Posts > Add New
- On the right hand side, select the video format. A Video box will appear below the editor.

- Enter your video’s URL or embed code into the box.
- Click Publish. The video will appear on the top of your single blog post.
INFO:
In order to display a thumbnail for video posts in the slider, the previous / next post links and related post links at the bottom of each single blog post and the popular posts widget, you need to additionally upload a featured image on the right hand side.
A useful plugin that automatically creates those thumbnail images for you is the Video Thumbnails plugin.
This is how you install and use this plugin:
- Go to Plugins > Add New. In the top right corner enter “Video Thumbnails” into the search field. Now in the search results look for the “Video Thumbnails” plugin and click Install Now. Once the plugin is installed, click Activate.
- Go to Settings > Video Thumbnails.
In the General Tab, check the “Save Thumbnails to Media Libray” checkbox and the “Automatically Set Featured Image” checkbox.

Check the “Post Types > post” checkbox
Into the field “Custom Field”, enter “redsun_videourl”.
Click Save Changes. - Now when you create a new video post, a featured image will automatically be set. For existing video posts, go to Settings > Video Thumbnails > Mass Action and click Scan Past Posts.