Widgets
To add, remove, or edit your sidebar widgets, go to Appearance > Widgets.
On the left, you will see a list of the available widgets to choose from.
On the right, you will see the 9 widget areas in the theme.
To add a widget to your sidebar, simply drag & drop a widget from the left into any of the sidebars on the right.
MARNI includes 4 custom widgets and recommends (includes styles) for 2 widgets:
INCLUDED WIDGETS
- MARNI – Categories widget
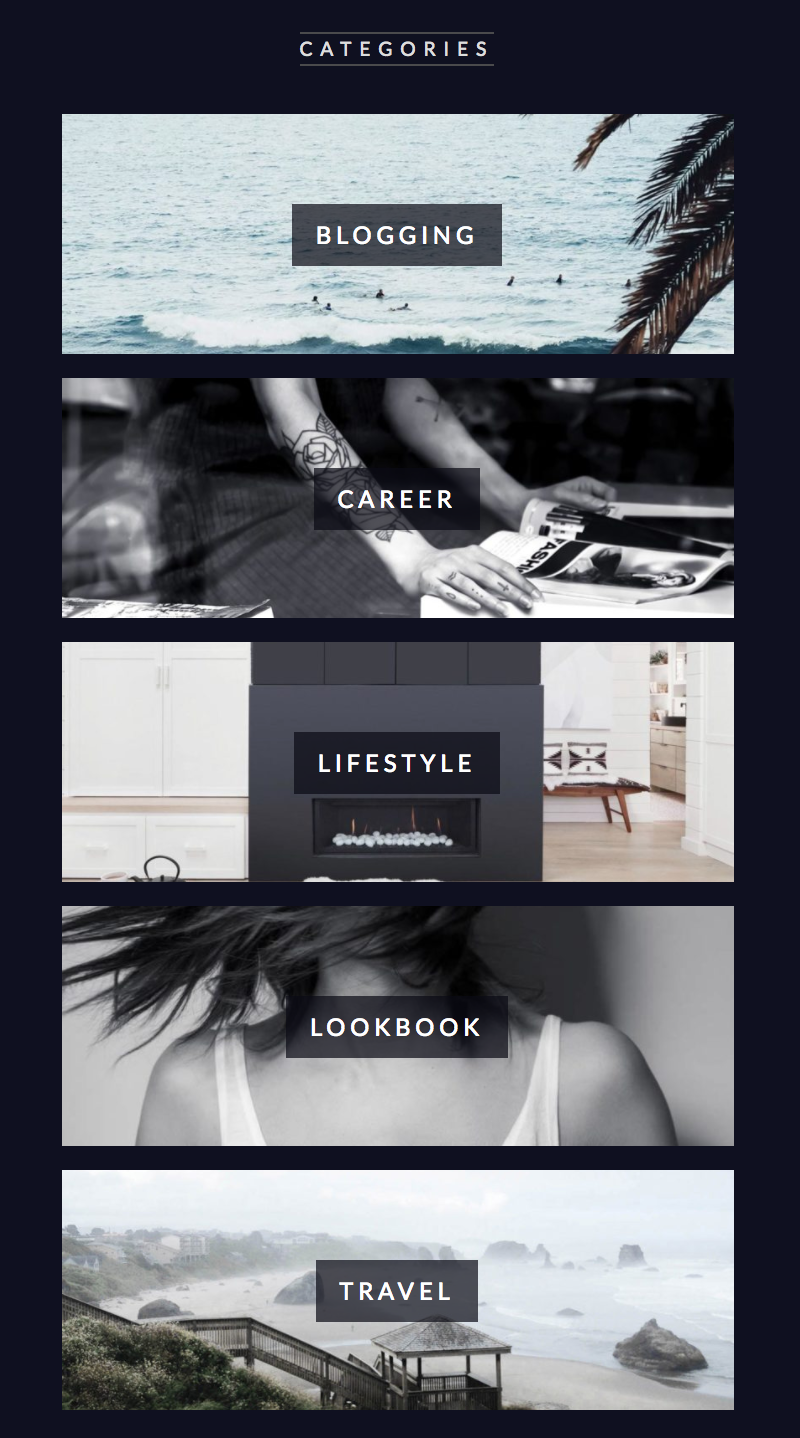
The Categories widget displays a list of your categories including the category image.
You can set the image for each category in Posts > Categories, click “Edit” for a category and upload your image.
OPTIONS:- Include / Exclude Categories:
Select “Include below categories” or “Exclude below categories” from the dropdown field. Then simply enter the category IDs into the field below, separated by comma. You can find the ID for each category in Posts > Categories, in the categories table on the right hand side. - Category image height:
set a height for the category images (in pixels). Min height = 60, Default is 120. - If you are adding the widget into the Sidebar Home Top, you have additionaly the option to display three, four or five categories per row.
- Include / Exclude Categories:
- MARNI – Featured Post widget

The Featurd Post widget displays a link to any of your posts. Simply select a post from the dropdown field.
OPTIONS:- Display Thumbnail
- Display Category
- Display Post Date
- MARNI – Popular Posts widget

The Pouplar Posts widget displays a list of your most popular posts. This widget requires the WordPress Popular Posts plugin. You can install this plugin in Appearance > Install Plugins. This widget is simply an extension to the WordPress Popular Posts plugin and provides a different styling than the widget that already comes with the plugin.
OPTIONS:- Number of Posts
- Thumbnail Size
- Display Counter
- Display post date
- Sort posts by Total Views, Daily Views or Comments
- Time Range Filter
- Categories Filter
You can find the ID for each category in Posts > Categories, in the categories table on the right hand side. - Exclude Posts
You can find the post ID by going to Posts > All Posts and hovering over the name of the post whose ID number you want to find. At the foot of the browser window you’ll see the URL for the post or page. In the URL you will see the parameter post= followed by a number. That number is the ID number for the post or page. - If you are adding the widget into the Sidebar Home Top, you have additionaly the option to display three, four or five categories per row.
- MARNI – Social widget

The Social Widget displays icons that link to your social accounts.
You can add social icons in Appearance > Customize > Connect > Social Accounts.
RECOMMENDED WIDGETS
- MailChimp Sign-Up Form
Marni includes styling for the MailChimp for WordPress plugin.
Follow the below instructions in order to add a MailChimp newsletter sign-up form widget to your sidebar.- Sign up at mailchimp.com and create a newsletter list
- Install the “MailChimp for WordPress” plugin. You can do that in Appearance > Install Plugins.
Once installed, go to the plugin’s Settings page and enter your API key. - Go to Appearance > Widgets and drag and drop the “MailChimp Sign-Up Form” widget into one of the sidebars.
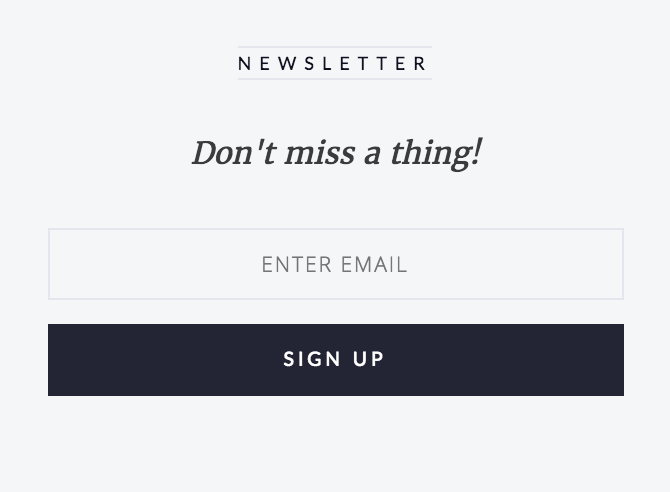
- In order to customize your newsletter form, go to WP Dashboard > MailChimp for WP > Forms. If you want your newsletter sign-up form to look just like on the Marni demo, replace the code with the following code:
<span class="subscribe-text serif-italic">Don't miss a thing!</span> <input type="email" name="EMAIL" placeholder="Enter Email" required /> <input type="submit" value="Sign up" />Click “Save Changes”.
- Smash Balloon Social Photo Feed

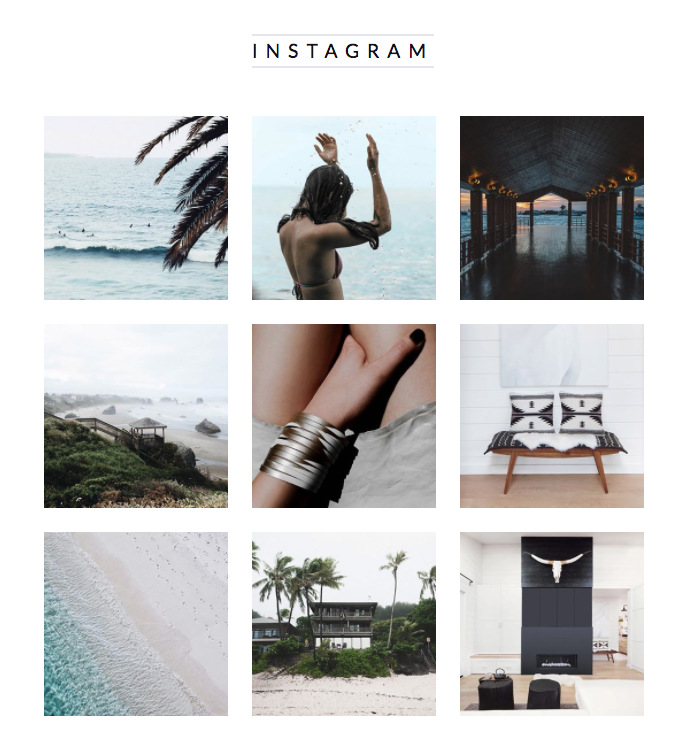
In order to display an Instagram feed, Marni recommends the Smash Balloon Social Photo Feed plugin.