
DESTINATIONS pages
Travel Styles page: All Travel Styles
Travel Styles page: auto-generated
Travel Styles page: custom
Set up and and add Content to your Destination, Continent and custom Country Pages
Travel Styles page: All Destinations
- Go to Pages → Add New.
- You can give this page a title, for example “Destinations”.
- Set up and add content to your Destination page
- Click Publish.
- Go to Appearance > Menus and add your page to your menu.
Travel Styles page: auto-generated
- Go to Posts → Destinations.

- Give the Destination a name, for example “Iceland”.
- Optionally add a description, upload a Destination image, add a Map Shortcode etc.
- Click Add New Destination.
Add your auto-generated Country pages to the menu
- Go to Appearance → Menus
- In the top right corner, click on Screen Options, then check the Destinations checkbox

- On the left side under Add menu items, select the destinations and click Add to Menu

Destination page: Country (custom)
This theme includes a function to redirect destinations to custom pages.
For example, redirect the the auto-generated country page “Indonesia” to a custom page “Indonesia”.
First, let’s find the slug (link) of the destination:
- Go to Posts → Destinations
- Look for the destination and find the slug (link)

Create your custom page and match the page’s slug to the destination’s slug:
- Go to Pages → Add New.
- You can give this page a title, for example “Indonesia”.
- In the page settings on the right side, check your pages slug (link)
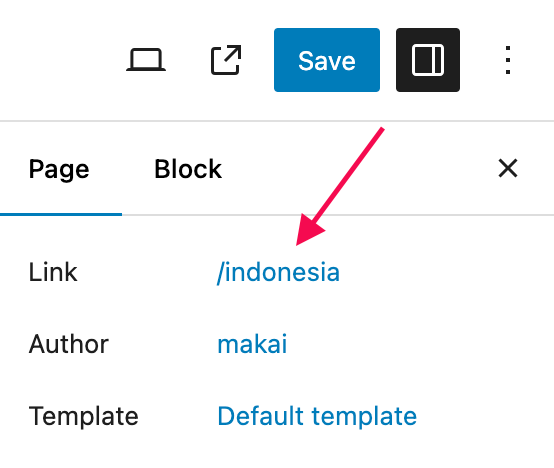
This slug (link) needs to match the slug of your destination. If it doesn’t, click on it, and change it
PLEASE NOTE!:
Clicking the “Edit Destination” link in the WordPress Toolbar at the top of the page will always take you to the auto-generated destination page.
In order to edit your custom destination pages, go to Pages → All Pages, find the page you want to edit and click Edit.
Set up and add Content to your Destination, Continent and custom Country Pages
Set up your Page
- Go to Pages → All Pages and find the page you want to edit.
- In the Page SettingsTab on the right side, scroll down to the Page Settings and select
- Hide Page Title
- Remove Page Padding Top
- Transparent Header
- Transparent Header Logo & Navigation Color

Add content to your Page
Create your page by adding blocks to your page.
Below is a list of blocks used on the demo site of the theme:
Page Header
Add the top of your page, add the MAKAI Page and Section Header Block and set it to Full Width. Upload a Background image and add a Title, Subtitle etc.
Intro Text and Map
Add the Columns Block.
Set the left column to 66% and add some text (MAKAI Subtitle block, Heading block, Paragraph block).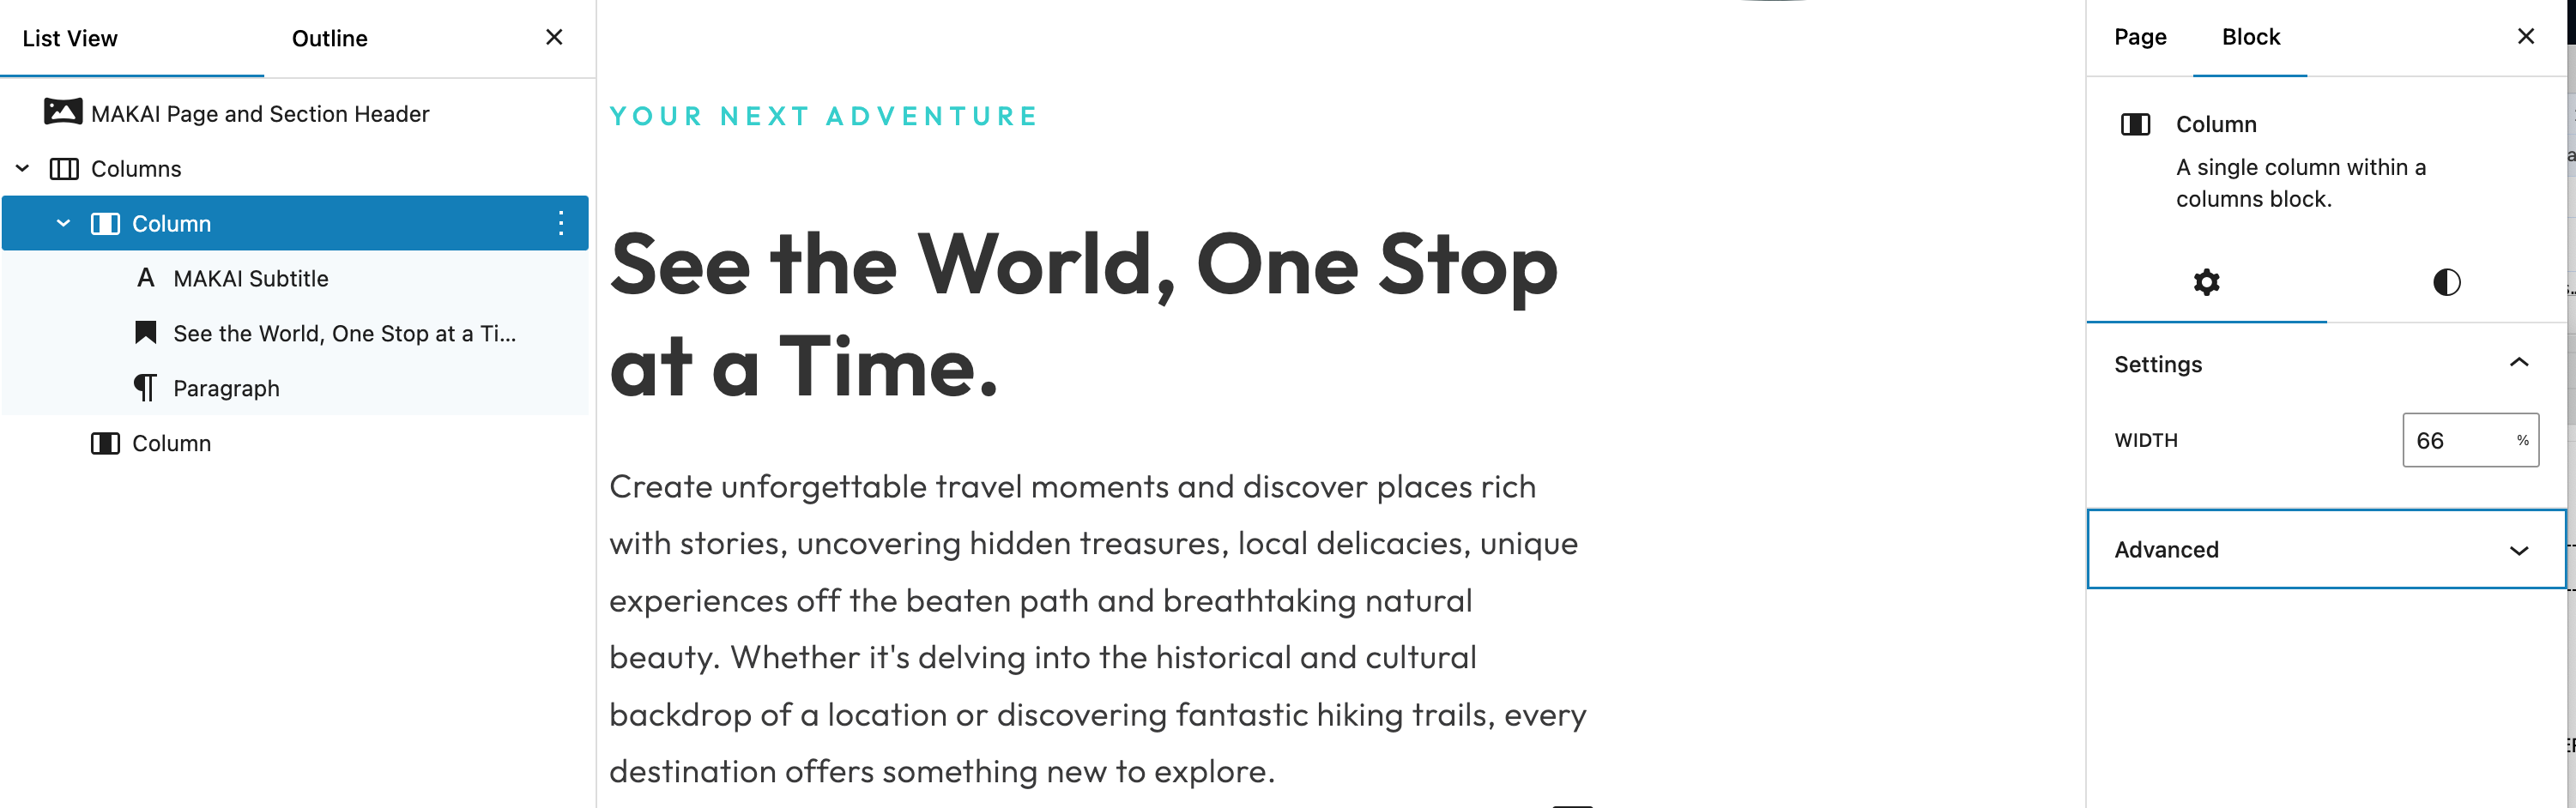
In the right column, you can add the Maps shortcode into the Shortcode Block.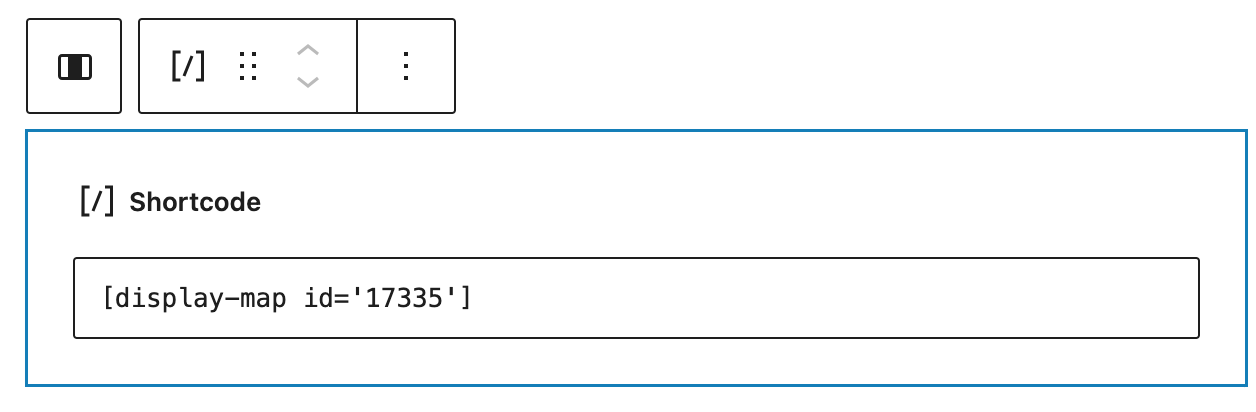
List of Destinations
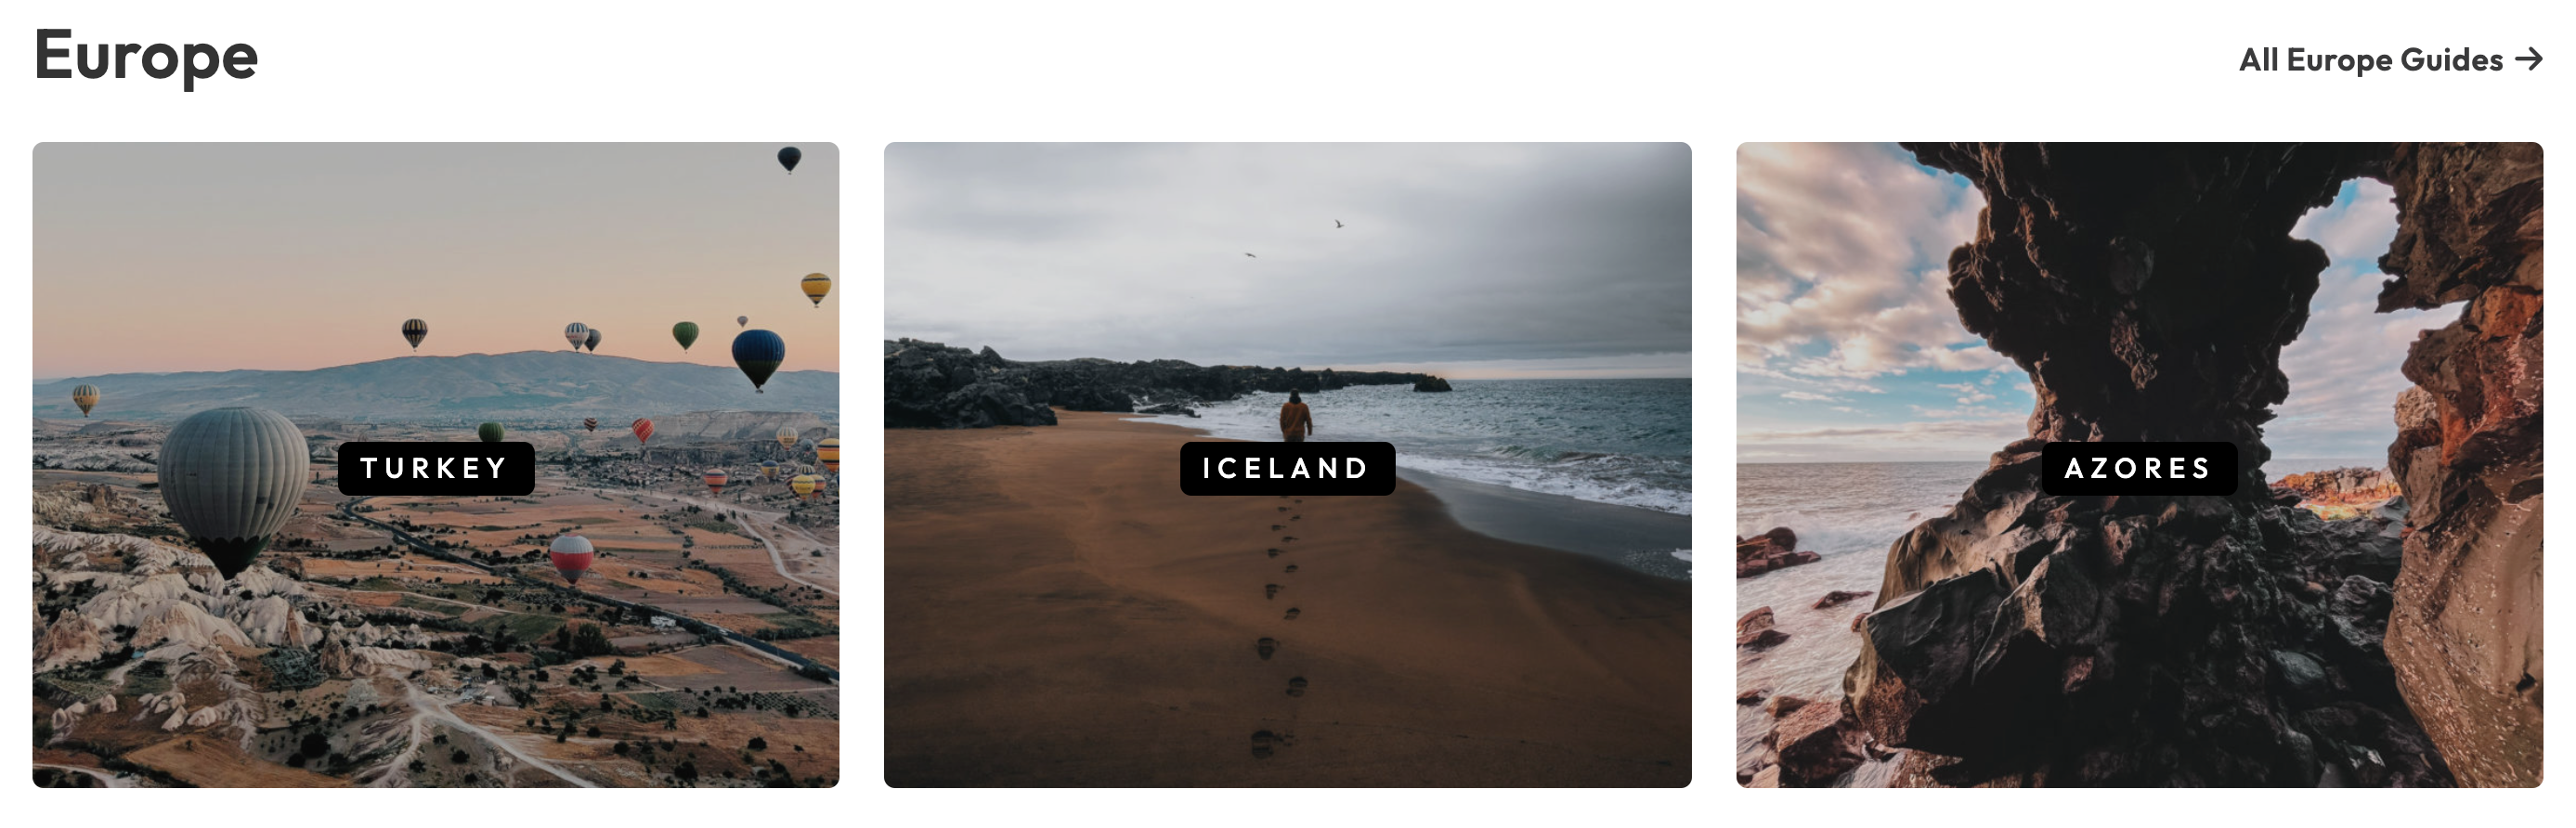
Add the MAKAI Link Boxes Block to add a list of Destinations with Background Image.
Add the MAKAI Section Header Block to add a Headline and “View All Posts” link.
List of Posts
Add the MAKAI Blog Posts Block