The Customizer is the place where you have access to all the theme’s configuration settings. All changes may be previewed before saving them.
You can find the Customizer at Appearance → Customize .
Site Identity
Appearance → Customize → Site Identity
Upload the header logo as well as the logo for transparent headers.
More info at Header / Footer → The Header.
Layout
Appearance → Customize → Layout
Change your Top Bar / Header / Footer / Blog layout.
Add content to your Top Bar and Footer Copyright Area.
Typography
Appearance → Customize → Typography
Change the typography.
You can find the responsive typography settings at Appearance → Customize → Responsive Settings → Typography.
Font Sizes
px VS em
For the font size and line height you can use either the px or em unit.
While px are fixed-size units (one pixel is equal to one dot on the computer screen), using the “em” unit will display the text element relative to the Base Font.
Example:
Base font size: 16px.
Headline font size: 2em. → The headline will display twice the size of the base font, which equals 32px.
The Base Font
Changing the Base Font will affect most other typography elements on the site as it also increases/decreases all other text elements (like headlines etc.) that use the “em” unit. Any typography elements that use the “px” unit will not be affected.
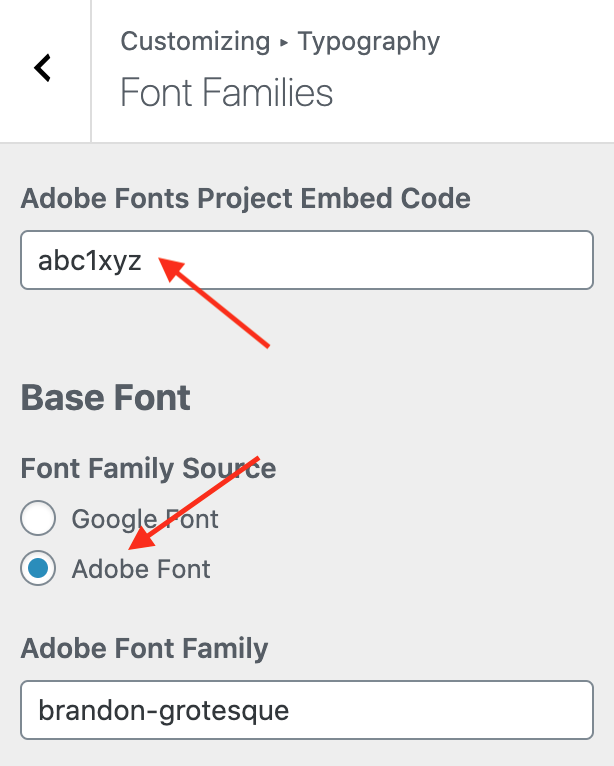
Using Adobe Fonts
- Go to Appearance → Customize → Typography → Font Families
- Select Font Family Source: Adobe Font for the Base Font or Headings Font
- The Adobe Fonts Project Embed Code field will Appear
- Enter the Adobe Fonts Project ID.
How to get the Adobe Fonts Project ID:
- Using Adobe Fonts requires any Creative Cloud Plan
- Go to the Adobe Fonts website and log into your account.
- Browse thousands of fonts to find the right ones for your site.
- Create a new web project or add a font to an existing project by clicking:

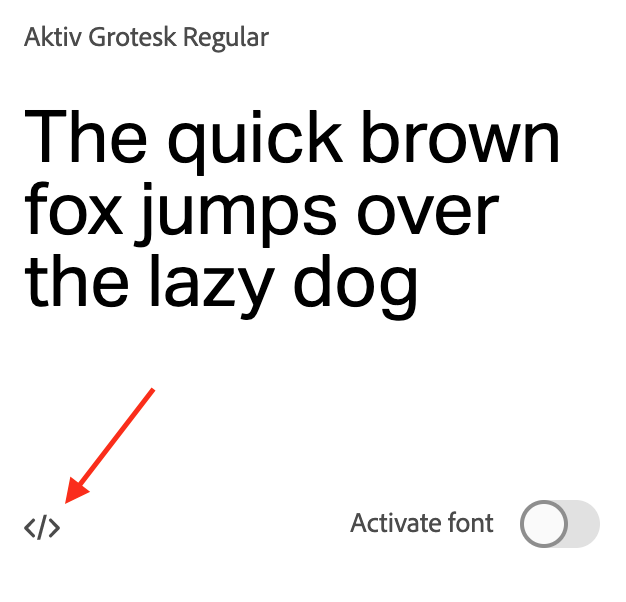
- Go to My Adobe Fonts → Web Projects to find all your Web Projects.

- Copy the Project ID of a Web Project.
Using Custom Fonts
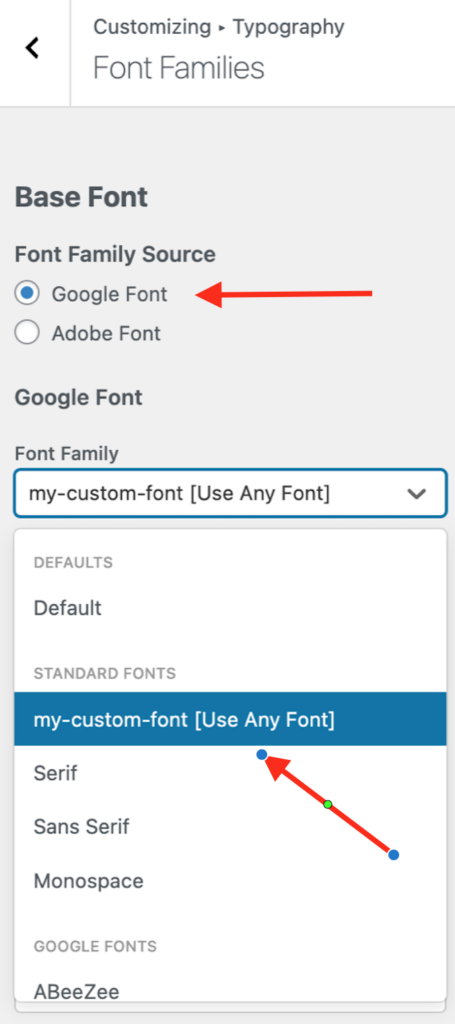
If you wish to add a custom font, you can use the Use Any Font plugin for that. Once the plugin is installed and activated you can upload your font file at Use Any Font → Upload Font and then select the uploaded font at Appearance → Customize → Typography → Font Families.
Select “Google Font” and then select your uploaded font under “Standard Fonts”.
Colors
Appearance → Customize → Colors
Change the color of the background, text, links, headlines, buttons, header, footer and more…
Responsive Settings
Appearance → Customize → Responsive Settings → Responsive Layout
Layout options for the Top Bar and Header on small screens.
Appearance → Customize → Responsive Settings → Responsive Layout
Typography for small screens.
Animation
Appearance → Customize → Animation → Animate on Scroll
Select if you wish to the following elements on scroll:
- Hero Block Text (fade up, fade down, fade right)
- Content Boxes (fade up)
- Content Boxes Text (fade up, fade down, fade right)
- Menu Tabs (fade up)
- Gallery Block (fade up)
Connect
Appearance → Customize → Connect → Social Accounts
Set up your social accounts to display them in the top bar and in the Social Icons Block.
Media
Appearance → Customize → Media
Activate/deactivate the Image Lightbox, which will open your images in a fullscreen Lighbox instead of in a new window.
Woocommerce
Appearance → Customize → WooCommerce
Additionally to the default WooCommerce customizer settings that come with the WooCommerce plugin, the theme adds the following additional settings at Appearance → Customize → WooCommerce → Product Catalog:
- choose the style of the Add To Cart Link (Display on hover / Display permanently / Hide )