Use the Contact Form 7 plugin to create custom Email Booking forms or add the Open Table Reservation widget.
Option 1: Contact form
- Make sure the Contact Form 7 plugin is installed and activated.
- Go to Contact → Add New and set up your contact form.
Example from the theme demo:
<label> Your Name*
    [text* your-name] </label>

<label> Your Email*
    [email* your-email] </label>

<label> Date*
[date* the-date] </label>

<label for="thetime"> Time* </label>
[radio the-time use_label_element id:thetime "17:00" "17:30" "18:00" "18:30" "19:00" "19:30" "20:00"]

<label> Number of People*
[number number-people min:1 max:10]</label>

<label> Your Message*
    [textarea* your-message] </label>

[submit "Send"]
You can find more info on how to work with Contact Form 7 in the Contact Form 7 Docs.
- Click Save and copy the shortcode that you find below the title field.
- You can now paste the shortcode into any page, using the shortcode block.
Option 2: Open Table Reservation widget
- To create your Open Table Reservation widget, log in to your OpenTable account on the OpenTable website. Click on the three white lines in the upper left corner to open the menu. Select Restaurant Profile and then Reservation Widget.
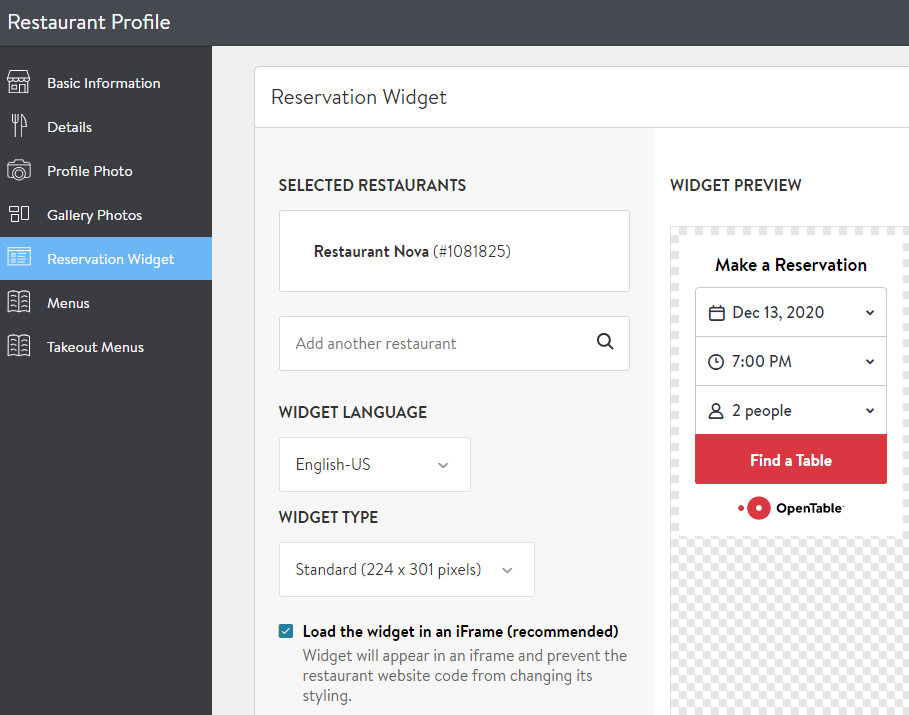
- Fill in all the settings.
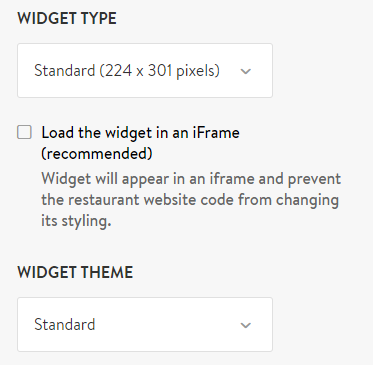
- Uncheck “Load the widget in an iFrame” to use the styling of the theme for the widget.
- Once you have completed setting up your widget, click on the option to Copy Code.
- You can now paste the code into any page, using the Custom HTML block.