AMAYA includes a custom Post Type to create Drink and Food menu items. Once you’ve created the Menu Posts, you can display them in the Custom Menu Block.
1. Add Menu Categories
2. Add Menu Items
3. Add Menu Items from CVS (Bulk Import)
4. Add Price Titles (Optional)
5. Reorder menu items and menu categories
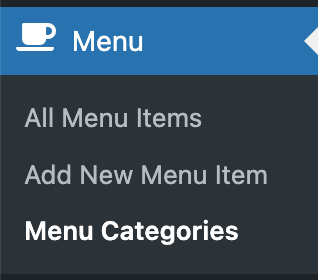
1. Add Menu Categories

- Click Menu → Menu Categories.
- Fill in the Name, Slug and optionally the Description (will be displayed below the menu category name) and click Add new Menu Category.
3. Add Menu Items

- Click Menu → Add New Menu Item
- Enter Title, Menu Item Description and Price (including currency symbol) .
If you wish to display multiple prices for different sizes , click Add another price. - Select a Menu Category on the right side.
- Click Publish.
3. Add Menu Items from CVS (Bulk Import)
If you need to add many menu items at once, you can import them from a CSV file. Go to Menu → Import CSV, upload your file, and click Import.
Your CSV file should use UTF-8 encoding, comma separators, and a header row with the following columns:
| Column | Required | Description |
|---|---|---|
Name | Yes | The menu item title. |
Category | Yes | The menu category. If it doesn’t exist yet, it will be created automatically. |
Price | Yes | A single price, or multiple prices separated by | (maximum 4). Example: 9.50|12.00. |
Description | No | The menu item description. Basic HTML is allowed. |
Info | No | Extra info shown next to the title. You can use HTML here, for example a Font Awesome icon: |
Example CSV:
Name,Category,Price,Description
Cold Brew Latte,Iced Coffee,4.50|6.00,
Ginger skinny lemonade,Homemade Lemonade,7.50,"Water, lemon, agave nectar and fresh ginger"
Tiramisu,Desserts,6.50,
After importing, you can open any item to edit details, add a featured image, or rearrange prices — imported items behave exactly like those created manually.
Tips:
- When a cell contains commas (like a description), wrap it in double quotes:
"Water, lemon, agave nectar and fresh ginger". - Only comma-separated CSVs are supported (not semicolon-separated).
- Running the same import twice creates duplicate items — the importer doesn’t check for existing titles.
3. Add Price Titles (optional)
In order to add a title to a price column, follow the steps below:

- Click Menu → Add New Menu Item.
- In the Price(s) field, add the Price Title.
- Click the Add another price button to add another Price Title.
- On the right hand side, check the Price Title checkbox.
- Click Publish.

4. Reorder menu items and menu categories
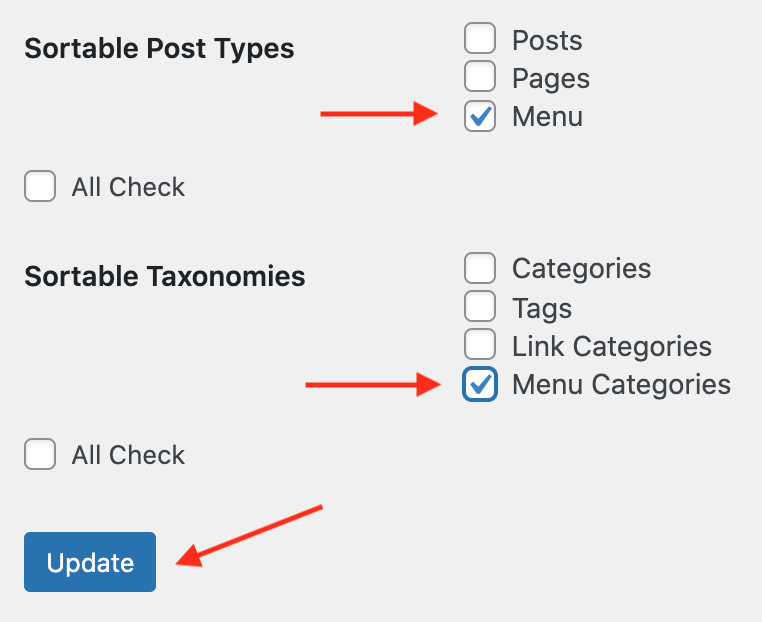
- In order to reorder menu items and menu categories via drag and drop, install the
Intuitive Custom Post Order plugin. You can do that in Appearance → Install Plugins. - Once the plugin is installed, go to Settings → Intuitive CPO, select “Menu” and “Menu Categories” and click Update.

- Go to Menu → All Menu Items or Menu → Menu Categories and simply drag and drop menu items and menu categories into a certain order.
In order to display menu items from a certain menu category only, which helps to reorder them, select a menu category and click Filter

In order to display all menu items on 1 page, which also helps to reorder them, in the top right corner click “Screen Options” and enter a number at least as high as the total number of items you’ve created.
